
Table of Contents
- Quick answer: how to fit a cat flap
- Before you begin: safety, tools and picking the right flap
- Measuring and planning like a pro
- Installation in a wooden door
- Installation in a uPVC door panel
- Installation in glass doors and sidelights
- Through-wall installations
- Weatherproofing and energy efficiency
- Security and access control
- Training your cat to use the flap
- Troubleshooting common problems
- What to budget
- Recommended related reading on Mad Cat Man
- Frequently asked questions
- Conclusion
This blog post may contain affiliate links. As an Amazon Associate I earn from qualifying purchases.
How to Fit a Cat Flap: A Simple DIY Guide (Even If You’re Not Handy)
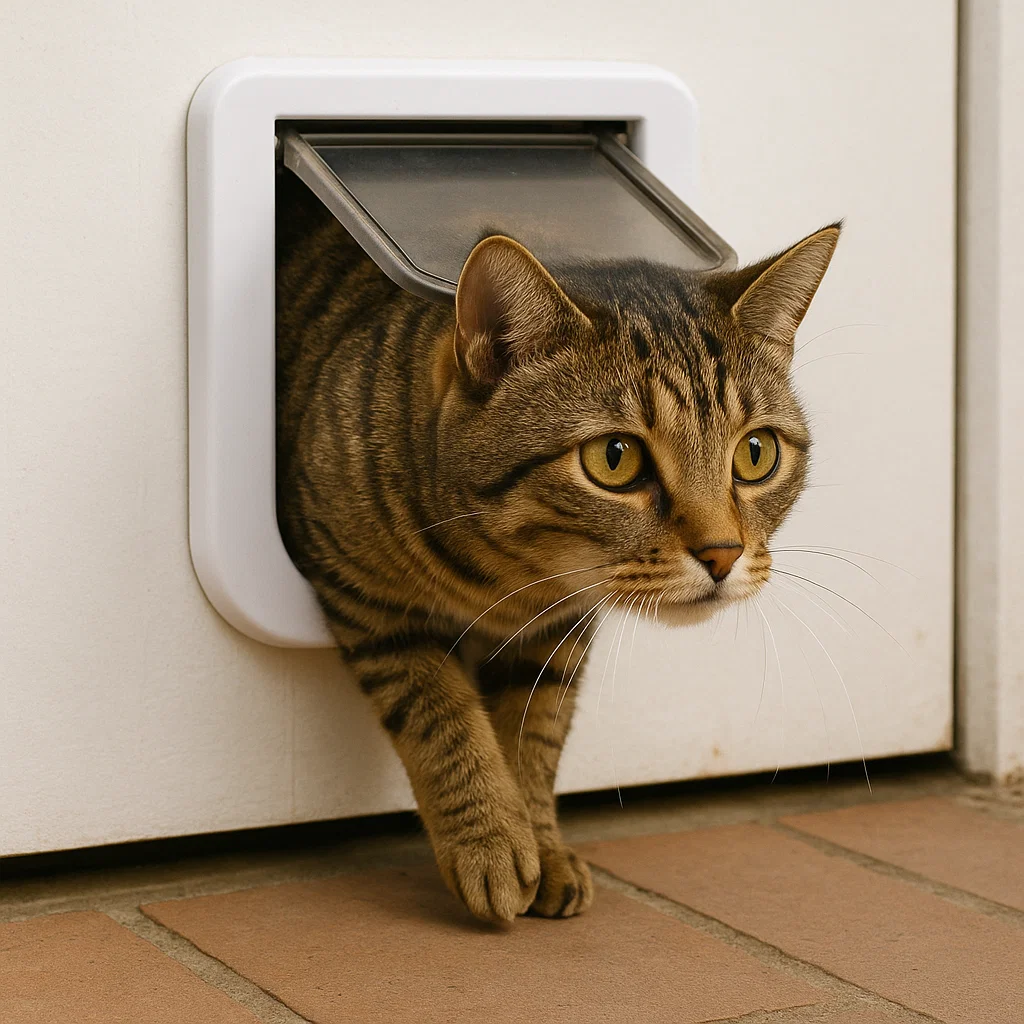
Fitting a cat flap can transform daily life for you and your cat. Done well, it gives safe independence, reduces door-scratching and night-time wake-ups, and can even improve indoor climate control when you choose a well-sealed model. This Mad Cat Man guide combines step-by-step instructions, expert-backed safety notes, and pro tips for wood, uPVC, composite, glass and wall installs, plus training advice so your cat actually uses the flap.
You will learn how to pick the right flap, measure and mark accurately, cut and seal cleanly, avoid common mistakes, and train with positive reinforcement. When a job is better left to a professional, you will see that called out clearly with reasons and references.
Quick answer: how to fit a cat flap
- Choose the right flap for your door or wall and your cat’s size.
- Measure shoulder height and mark the template at that height plus about 1–2 inches clearances.
- Drill pilot holes in template corners, then cut the opening.
- Test-fit, drill fixing holes, install the inner and outer frames, then weather-seal.
- Add a draft seal or brush strip if not included.
- Train your cat using treats with the flap propped open, then gradually close it. Emerald Doors+2Airtasker+2
Before you begin: safety, tools and picking the right flap
Safety first
Wear eye protection, gloves and a dust mask when drilling or sawing. If you are cutting glass or making penetrations through exterior walls, consult a qualified professional. Manufacturer manuals for microchip flaps specifically advise using trained glaziers for glass and exercising caution with power tools. image.chewy.com+1
Essential tools
- Tape measure, pencil, masking tape
- Spirit level or digital level
- Drill with wood or multi-material bits
- Jigsaw with appropriate blade, or oscillating multi-tool for neat corners
- Screwdriver set
- Sandpaper or file
- Exterior-grade silicone or polyurethane sealant and weatherstrip
Choosing the right cat flap

Pick based on entry control, location, and thickness of the door or wall.
- Basic manual flap – lowest cost, works for quiet areas.
- Magnetic or RFID collar flaps – limit entry to pets with a tag.
- Microchip flaps – read your cat’s embedded microchip for selective entry and often store multiple pets. These are commonly recommended to stop neighbourhood cats entering. RSPCA+1
For glass doors or thin panels, check the manufacturer’s cutout shape and any adaptor rings. Many microchip models supply templates, tunnel extensions, and circular adaptors for glazing. surepetcare.com
Measuring and planning like a pro
Accurate measuring is what separates a clean, draught-free install from a patch job.
- Height: mark the bottom of the flap roughly level with your cat’s belly or shoulder line so entry is comfortable. If you have multiple cats, set height for the smallest and add 1–2 inches.
- Template: use the included paper template. Tape it on the door at the chosen height and level it.
- Clearances: ensure at least 1 inch of solid material remains around the cutout edges for strength, and confirm screw holes will not hit panels, mouldings or door furniture.
DIY trade guides and door makers endorse drilling pilot holes in the corners of the template first, then cutting between them, which gives cleaner turns and reduces splintering. Emerald Doors+1
Installation in a wooden door
Wood is the most forgiving material for first-time installers.
- Mark and level the template at your chosen height.
- Drill pilot holes in each corner of the template cutout.
- Cut the opening slowly with a jigsaw, staying just inside the line.
- Test fit the inner and outer frames.
- Drill fixing holes, following the flap’s manual.
- Assemble inner and outer parts and tighten fixings evenly.
- Seal the exterior perimeter with weatherproof sealant and add any brush seals or magnetic strips included.
- Check swing and latch action, then tidy caps and covers.
Handyman and door-install writeups recommend this order and highlight starting with pilot holes, then saw cuts, then fixings and weatherproofing for a rattle-free, neat finish. Fantastic Handyman+1
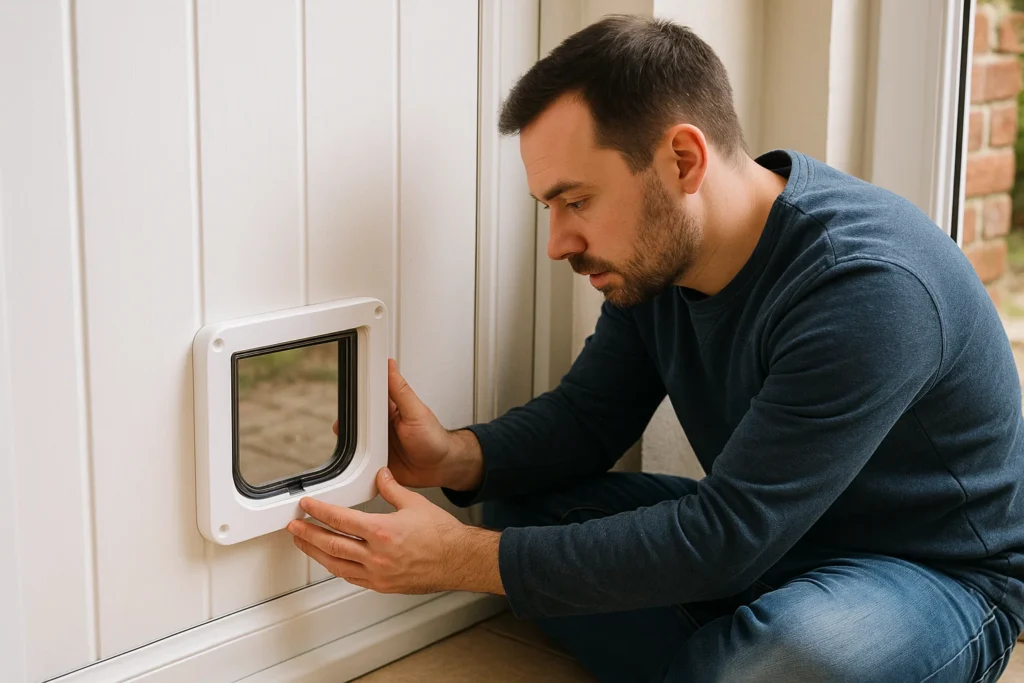
Installation in a uPVC door panel
uPVC doors often have a removable lower panel. The safest approach is to fit the flap to a compatible replacement panel or have the existing panel modified by a specialist so strength and insulation are preserved. DG Supplyline Ltd
- For half-glazed uPVC with a solid lower panel, remove the panel and cut the flap opening on a stable surface, or replace the panel with a new one that is pre-cut for your chosen flap and thickness.
- Use uPVC-safe sealants and avoid cutting decorative or reinforced sections that can compromise structure.
Glazing and hardware suppliers note that uPVC and glass projects are frequently miscut by DIYers, so check warranty implications and consider using a door company to supply a new panel with the correct aperture. DG Supplyline Ltd
Installation in glass doors and sidelights
Cutting toughened or double-glazed glass is not a DIY task. Manufacturers of microchip cat doors instruct owners to use a qualified glazier. The usual method is to replace the pane with a new unit manufactured with a circular hole, then use a compatible adaptor to mount the flap. Square cutouts in glass create stress points, which is why circular holes are standard. image.chewy.com+1
When to hire a pro
- Door or sidelight is toughened or double-glazed
- You need a circular cutout and adaptor ring
- You want to maintain door warranty and insulation ratings DG Supplyline Ltd
Through-wall installations
Through-brick or block walls deliver the best all-weather route when a door is not suitable. Use a core drill sized to the tunnel kit and add a lined tunnel section. Ensure you avoid pipes, wires and load-bearing issues. Experienced DIYers recommend large core drills for masonry and proper wall sleeves to prevent moisture ingress. This is often best handled by a contractor unless you have the tools and experience. Reddit
Weatherproofing and energy efficiency
A well-fitted flap should not feel drafty or leak in rain.
- Use the supplied brush seals or magnetic catches and check they seat fully after install.
- Run a continuous bead of exterior-grade sealant around the outer frame.
- For exposed locations, consider an external rain cover and an internal draft baffle.
- Microchip flaps often include magnetic catches that hold the door closed when not in use. Medpets
Security and access control
If neighbourhood cats have been a problem, install a microchip cat flap. These read ISO pet microchips and restrict entry to registered cats only, which rescue and welfare organisations highlight as a practical way to keep strays out while letting your cat come and go. Check your model’s memory capacity if you have multiple cats. RSPCA+1
Training your cat to use the flap
Even the best install fails if your cat will not use it. Cat welfare organisations and pet nutrition brands advise a gentle, reward-based approach.
- Prop the flap open at first so it is just a doorway.
- Lure with treats and praise when your cat steps through.
- Practice in short, calm sessions on both sides of the door.
- Gradually lower the flap until the cat nudges it.
- Avoid forcing or pushing; build confidence with repetition. Cats Protection+1
RSPCA guidance also notes that microchip flaps ensure only your cat returns indoors, which can boost confidence for nervous cats. Consider placing plants or a small shelter outside so the exit feels safe. RSPCA
Troubleshooting common problems
- The flap rattles or leaks: re-seat the brush seals, tighten fixings evenly, and re-apply exterior sealant.
- The panel feels flimsy: add backing plates or change to a manufacturer-approved panel.
- My cat is scared of the flap noise: lubricate hinges lightly and continue treat-based training with the flap propped part-open.
- Microchip reader is inconsistent: make sure batteries are fresh, remove metal directly around the mounting area, and register each cat correctly using the manufacturer’s procedure. Manuals warn that metal near the reader can interfere with performance. Direct-Vet
What to budget
DIY in a wooden door is usually the least expensive path: the flap plus sealant and blades. Costs increase for uPVC panel replacements and are highest for glass or wall installs that need a glazier or contractor. If airtightness and burglary resistance are priorities, invest in a premium, well-sealed microchip model and professional glazing.
Recommended related reading on Mad Cat Man
When you publish, add one contextual internal link in the most natural spot for each topic below:
- Choosing the right size and type of flap for bigger breeds – add a link on the phrase cat flap size guide in the Measuring section.
- Energy efficiency and winter prep – add a link on reduce drafts around pet doors in Weatherproofing.
- Behaviour tips for anxious cats – add a link on cat flap training for nervous cats in Training.
- Home safety checklist – add a link on pet-proofing doors and windows in Security.
Frequently asked questions
Can I fit a cat flap in any door?
Usually yes for solid timber and many uPVC panels. Glass, composite skins with reinforcement, and fire-rated doors often require a professional or a purpose-made panel. DG Supplyline Ltd
What height should I install the flap?
Level with your smallest cat’s belly or shoulder line with 1–2 inches of extra clearance for comfortable entry. This reduces strain and improves confidence. DIY guides align height to your cat’s body rather than an arbitrary measure. Emerald Doors+1
Do I need a microchip flap?
If strays come inside or you want selective entry, yes. Microchip flaps allow only registered pets in and are widely recommended by welfare groups. RSPCA
Can I cut a hole in my glass door myself?
No. Replacing the glass with a unit that has a factory-cut circular hole is the safe approach. Hire a glazier and use the manufacturer’s adaptor ring. image.chewy.com+1
How do I stop drafts?
Use brush or magnetic seals, apply exterior-grade sealant around the outer frame, and verify the flap closes under its own weight. Many microchip doors include a magnetic catch to help. Medpets
How do I train my cat to use the flap?
Prop it open, use treats to lure through, praise generously, then gradually close it as confidence builds. Keep sessions short and positive. Cats Protection+1
Will installing a cat flap void my door warranty?
It can, especially with uPVC or composite doors. Check the door maker’s terms and consider a replacement panel supplied for pet doors. DG Supplyline Ltd
Conclusion
Fitting a cat flap is a manageable DIY job with the right plan. Measure to your cat, not the diagram alone. Respect materials that demand a pro, especially glass and complex uPVC or composite panels. Choose a flap that suits your security and climate needs, then train with patience and treats so your cat loves using it.
Follow the steps and references here and you will get a neat, draft-free install that keeps your home secure and your cat happily independent.